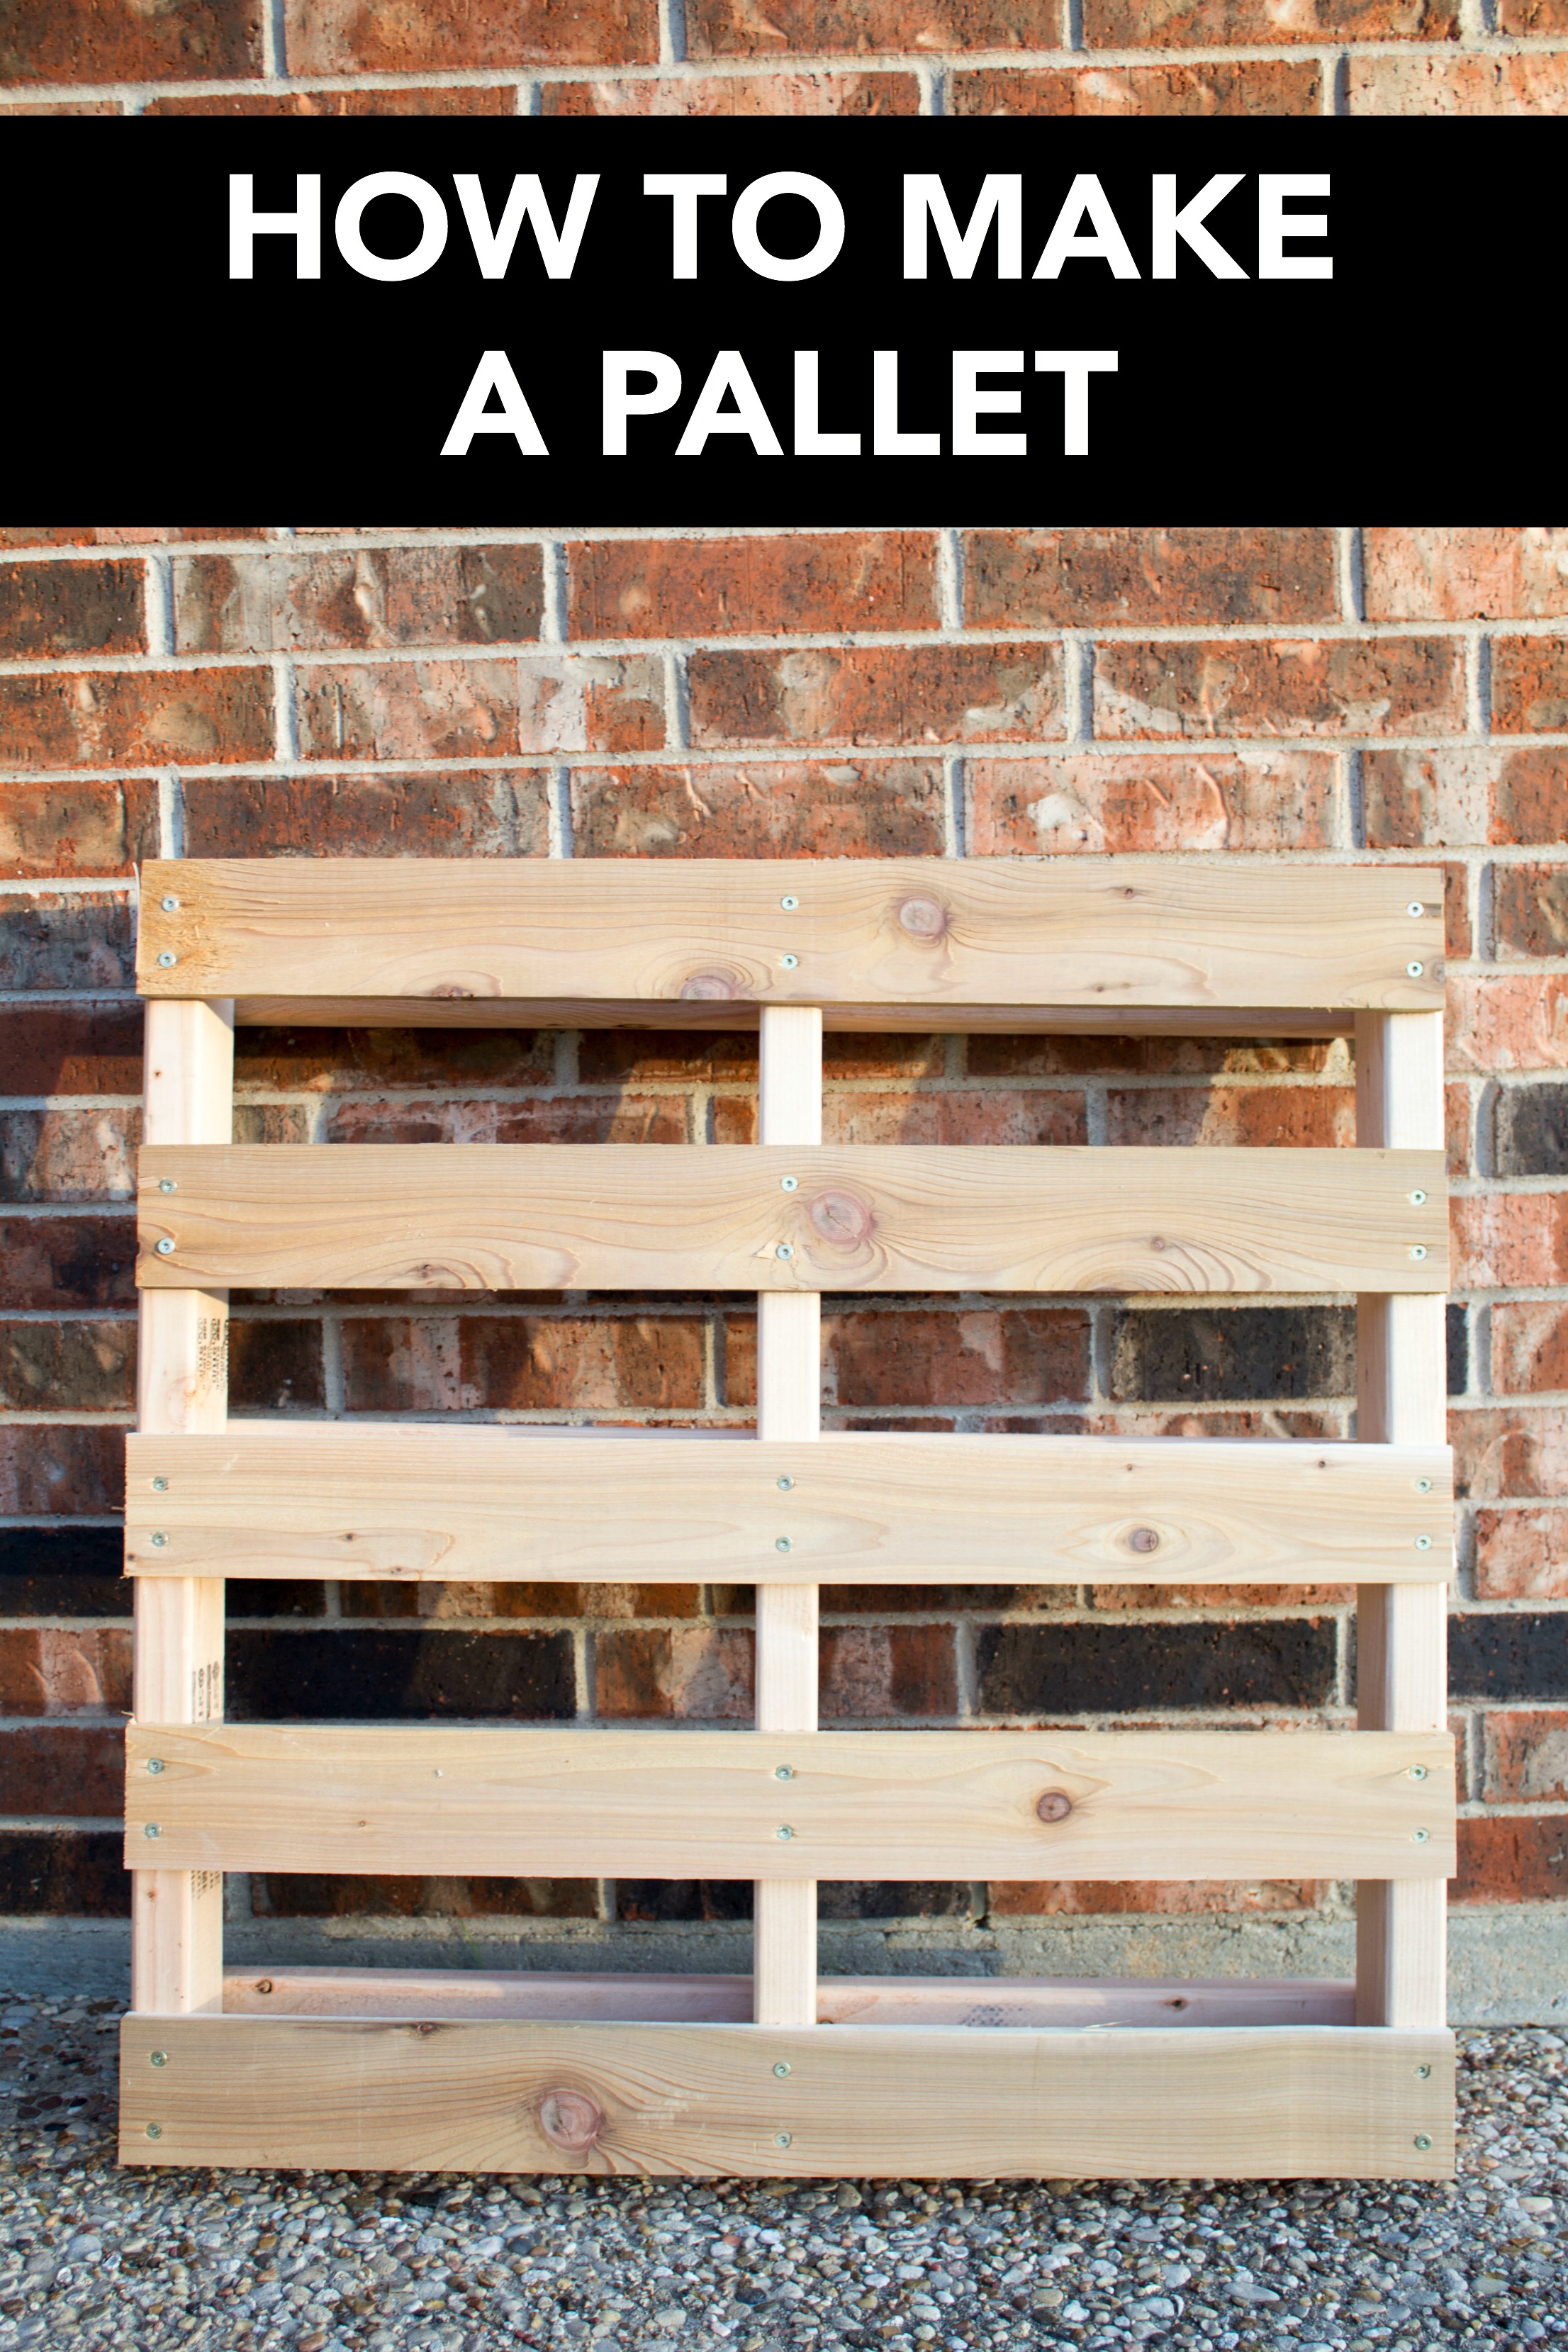
I have to start off with a funny story before I get into the nitty gritty of how to make a pallet. When I first started down the rabbit hole of wanting to make my own vertical vegetable pallet garden (which my full tutorial can be seen on World Market’s blog), I had zero clue that there were 2 options when it came to pallets. Chemically Treated pallets and Heat Treated pallets. The pallets you see everyone using (the more popular pallets) are the chemically treated ones. What distinguishes the two? Heat Treated pallets have a “HT” stamped on the side of them. Heat Treated pallets would be safe for veggie/herb gardens. Chemically Treated pallets would not be safe.
After learning this tidbit of information, I decided there was still not going to be a way for me to know, without a shadow of a doubt, where a Heat Treated pallet had lived it’s life or what it might have been exposed to. And not wanting to contaminate my own food source, I decided it was going to be smarter for me to make a pallet myself.
I do want to point out that it’s probably smarter to make your own pallet for projects you plan on putting in your home. Who wants to be exposed to harmful chemicals??
So back to the funny story. I made a trip to my local lumber store and knew I wanted a lighter weight wood like pine to build my pallet. Once you fill an already sturdy/heavy pallet with soil and transplants, it’s going to get quite heavy. Here’s my conversation with the local lumber “specialist”…
Me: I’m looking for pine to build a veggie garden.
Man: Oh the pine is right here.
Me: Yes, but that’s treated wood. I don’t want treated wood, I’m making a veggie garden.
Man: This is what people use to build their gardens because the wood will last longer.
Me: Yeah, but I don’t want the treated kind.
Man: Well, it’s going to fall apart after one season if you don’t use this wood.
Me: But it’s been treated.
Man: It’s only harmful when you cut on it.
Me: (leary) Well, I don’t want it falling apart after one season, so I guess I’ll get this.
After I built my pallet, my husband came out to inspect my work. Here’s our ensuing conversation:
Husband: Wow, babe. That looks really good.
Me: (beaming) Thanks!
Husband: But you can’t put veggies in that.
Me: (face falling) Why not?
Husband: Because you’ll contaminate your food from that treated wood.
Me: WHAT???? The lumber man told me this is what everyone uses for their gardens.
Husband: Wasn’t the entire point of you building your own pallet, so that you knew where it came from and wasn’t treated with chemicals??
Me: Yes.
Husband: Sorry, babe. That one isn’t going to work.
So, in the end, I built my husband a really nice pallet for an engine we have at our car lot. LOL And I learned my lesson to stick to my guns and push for the wood I was in the store to shop for. The images you see in my tutorial are of the treated lumber I used in my first pallet. DO NOT USE TREATED WOOD. I don’t care if it falls apart after one growing season. I went to a different lumber store and bought untreated wood for my 2nd pallet. I’m becoming a pro on building pallets. The next one I’m making is going to be completely made out of cedar. My 2nd pallet base was made out of white wood (I honestly don’t know the variety) and the top slat part was made out of cedar.
Okay, on to the tutorial!
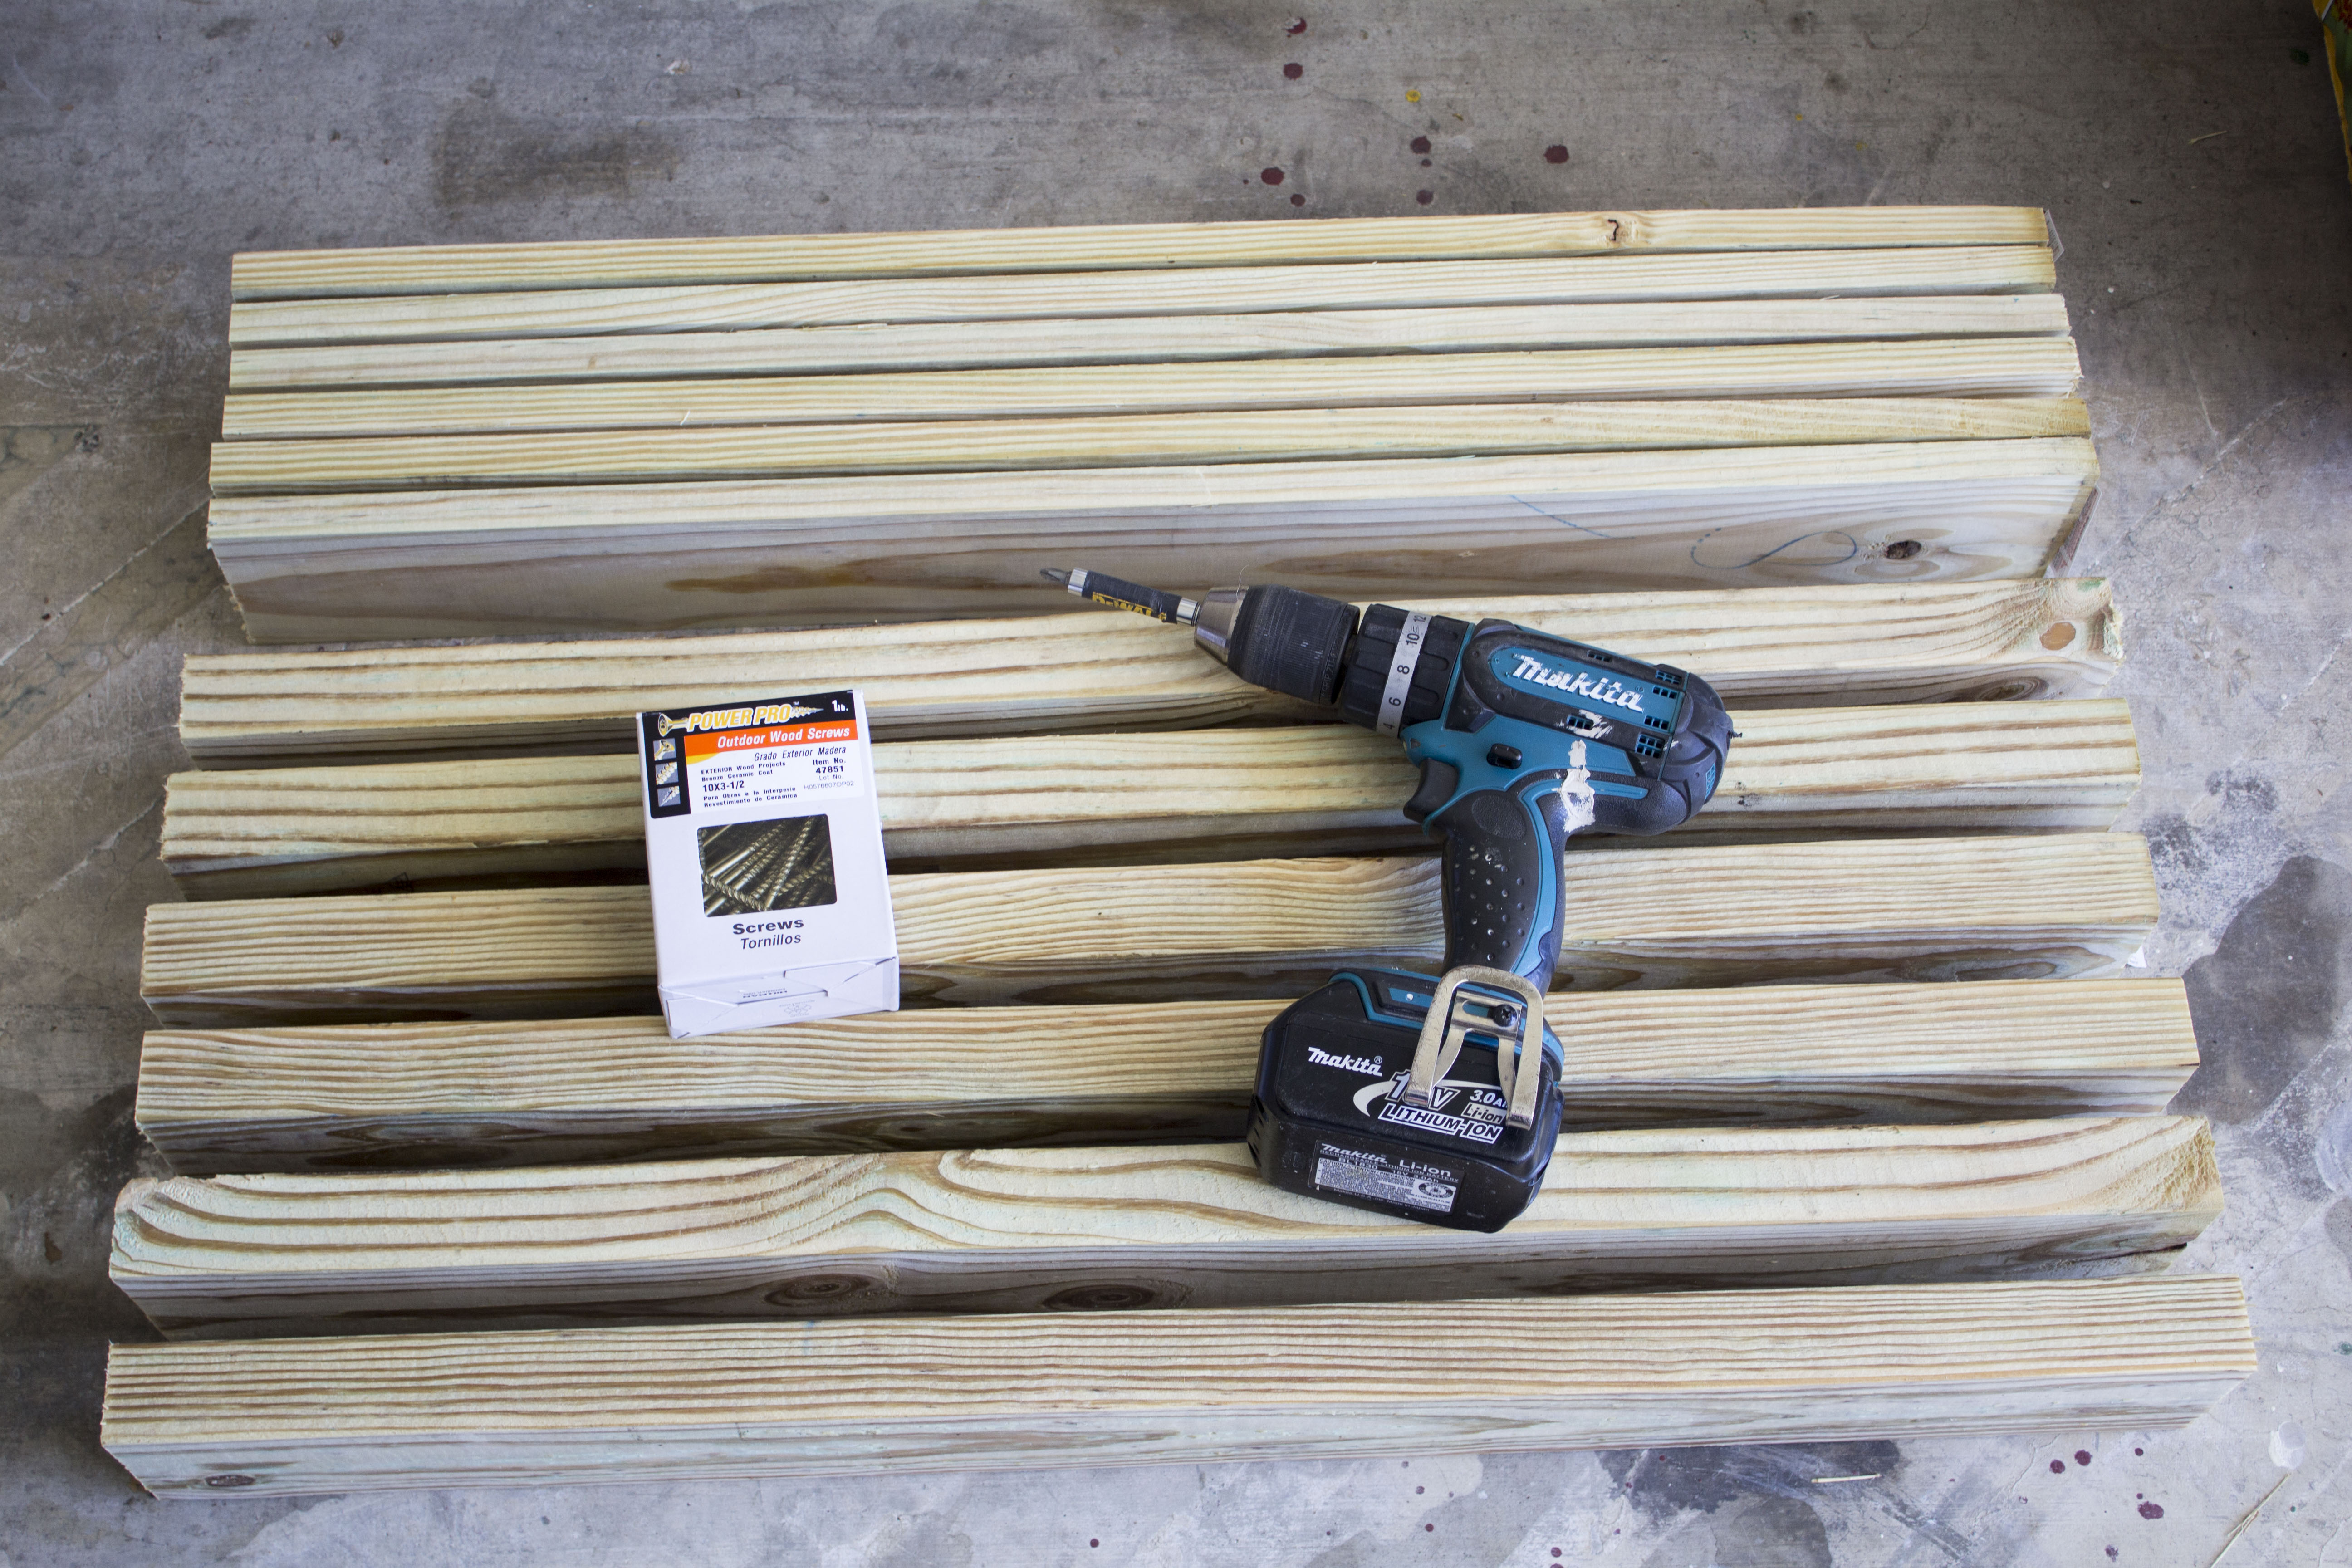
What You’ll Need for a 32″ Square Pallet
2 – 2x4s [8 foot boards] (cut into 1/3rds…most 2x4s aren’t exactly 8 feet in length…you want all your boards 32″ long)
2 – 1x4s [8 foot boards] (cut into 1/3rds…most 1x4s aren’t exactly 8 feet in length…you want all your boards 32″ long)
Box of Screws 3 1/2″ in length
Drill
Drill Bit
Tape Measurer
What You’ll Do
1. If your local lumber store will cut your boards for you for free (or a small fee), have them cut them for you. Pay attention to their work though! Otherwise, cut all of your boards down to 32″.
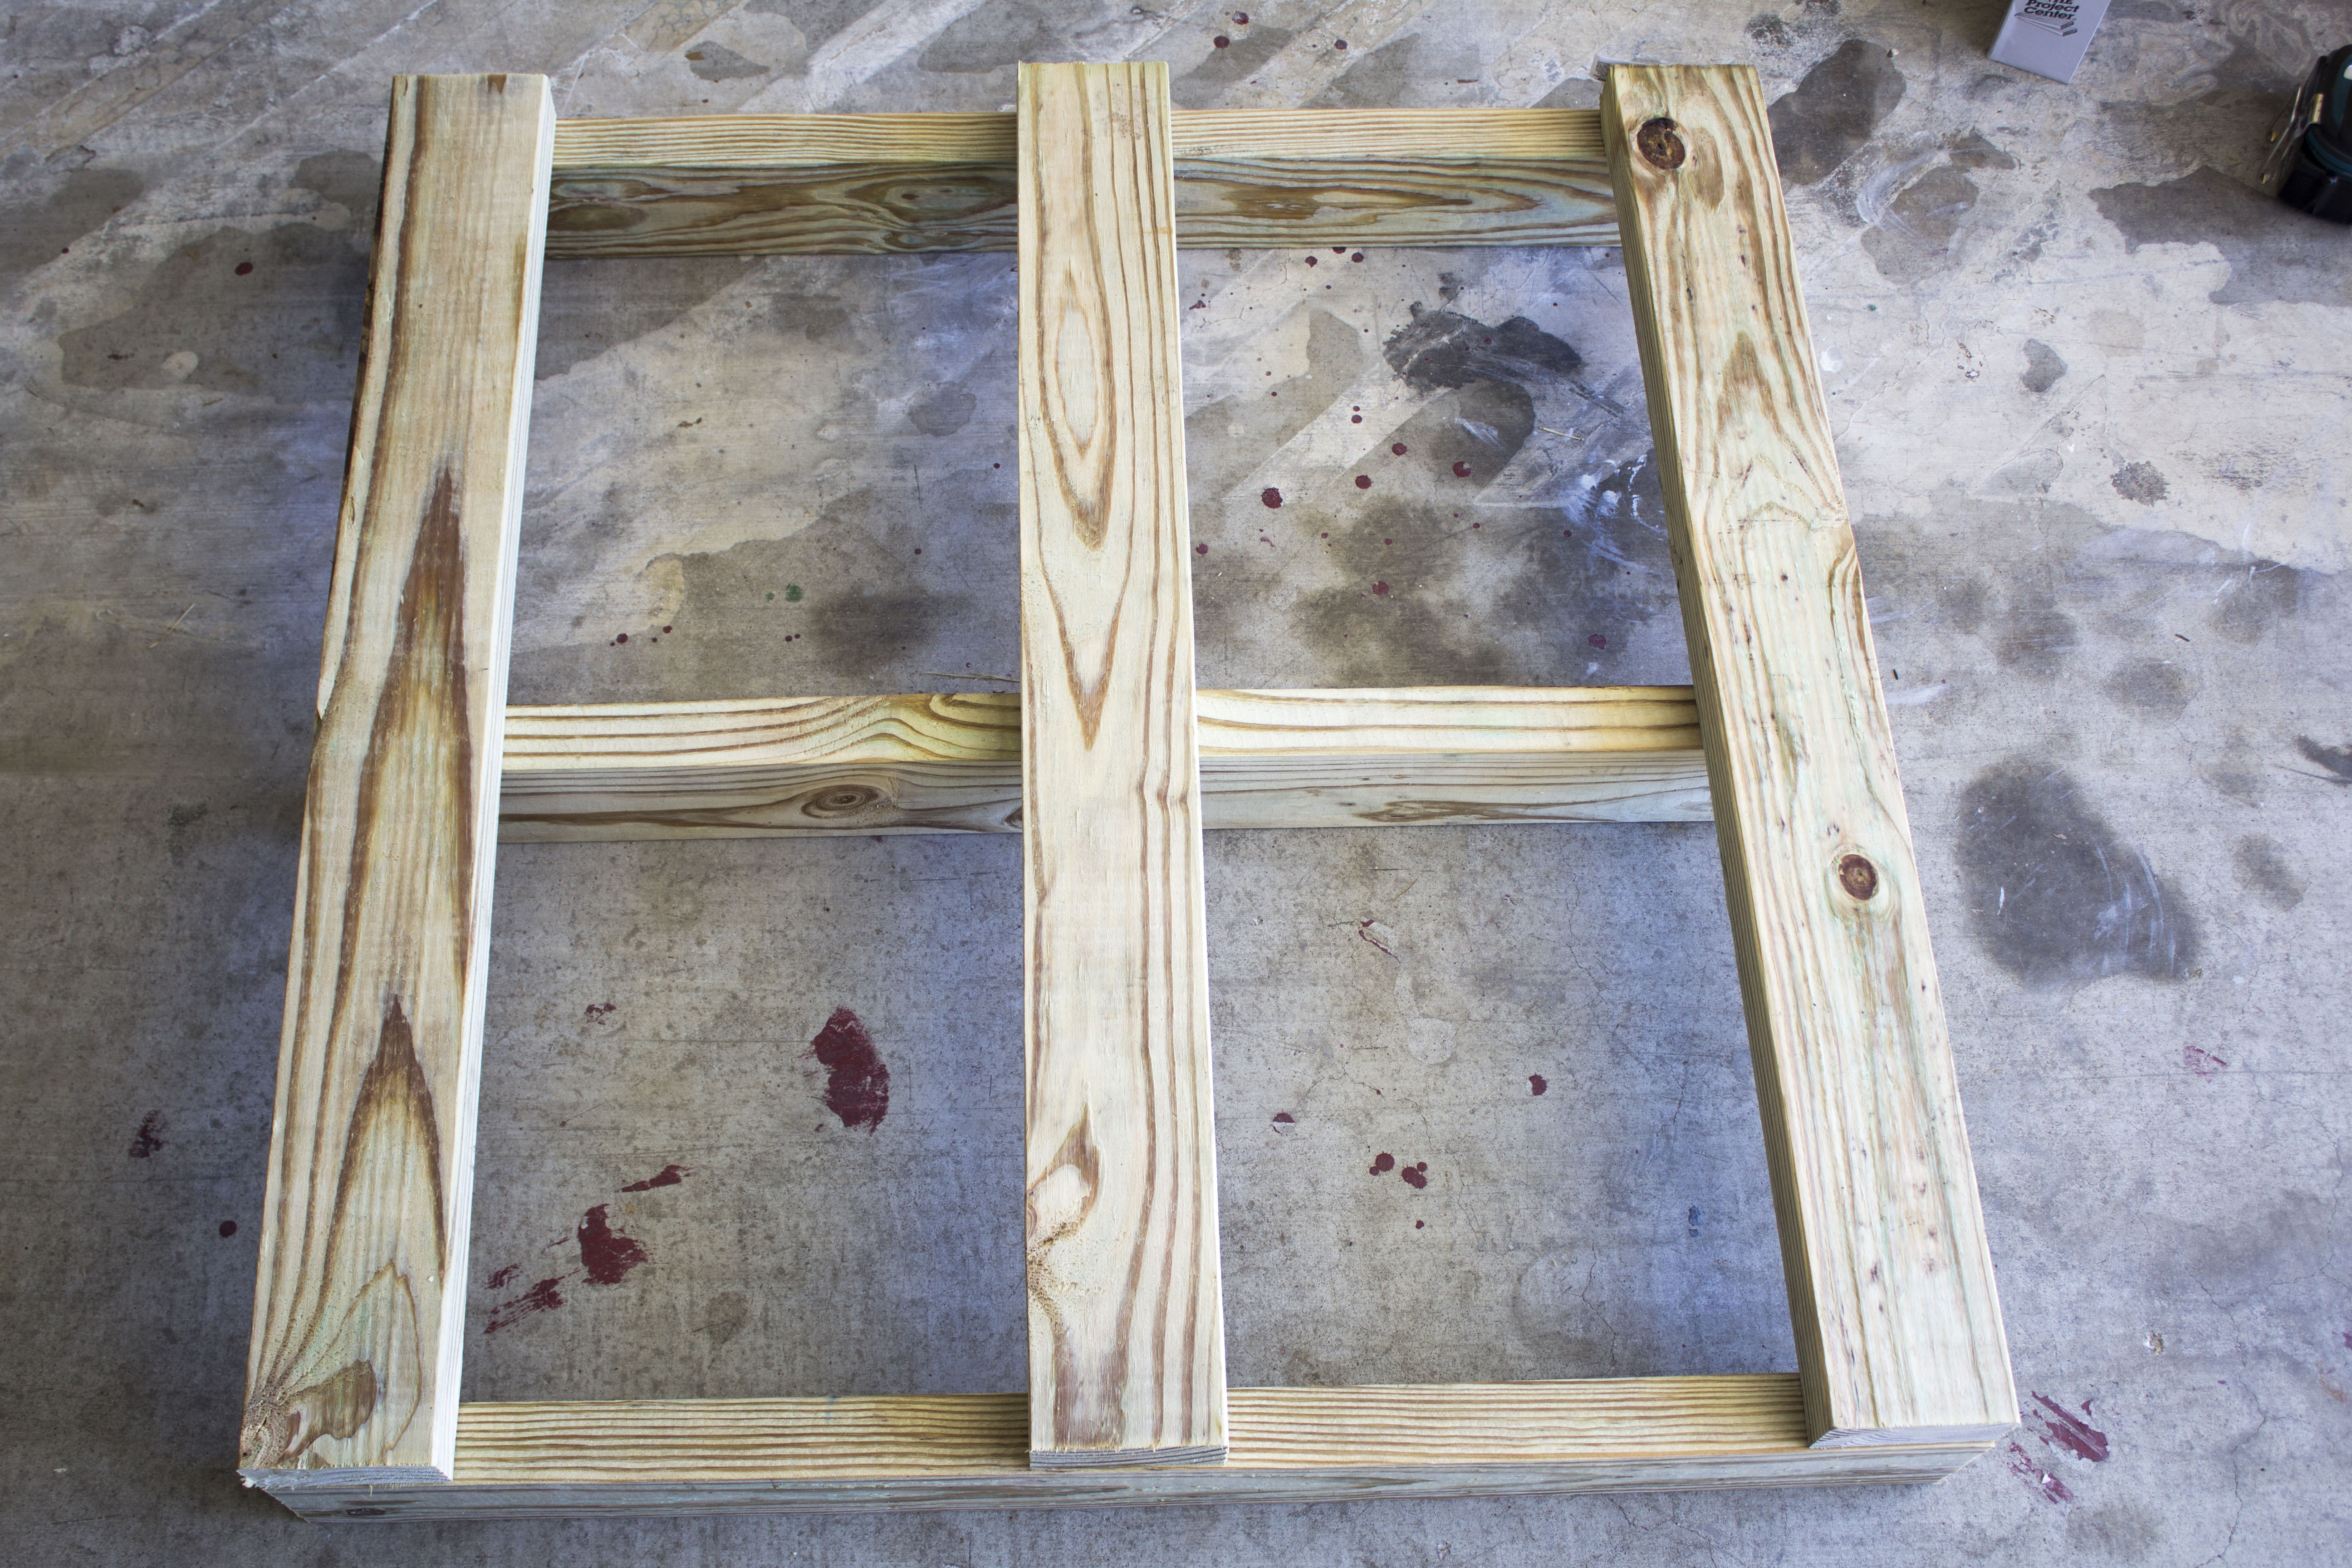
2. Take 3 2×4 boards and set them up parallel to each other (you want the skinny side down). You want the outside of the boards to be exactly 32″ (measured from outside edge to outside edge. Your middle board needs to be exactly center.
3. Take 3 2×4 boards and lay them on top, in the opposite direction, the width side down. Make sure it all lines up correctly. 32″ measured from the outside 2 boards. Your middle board needs to be exactly centered.
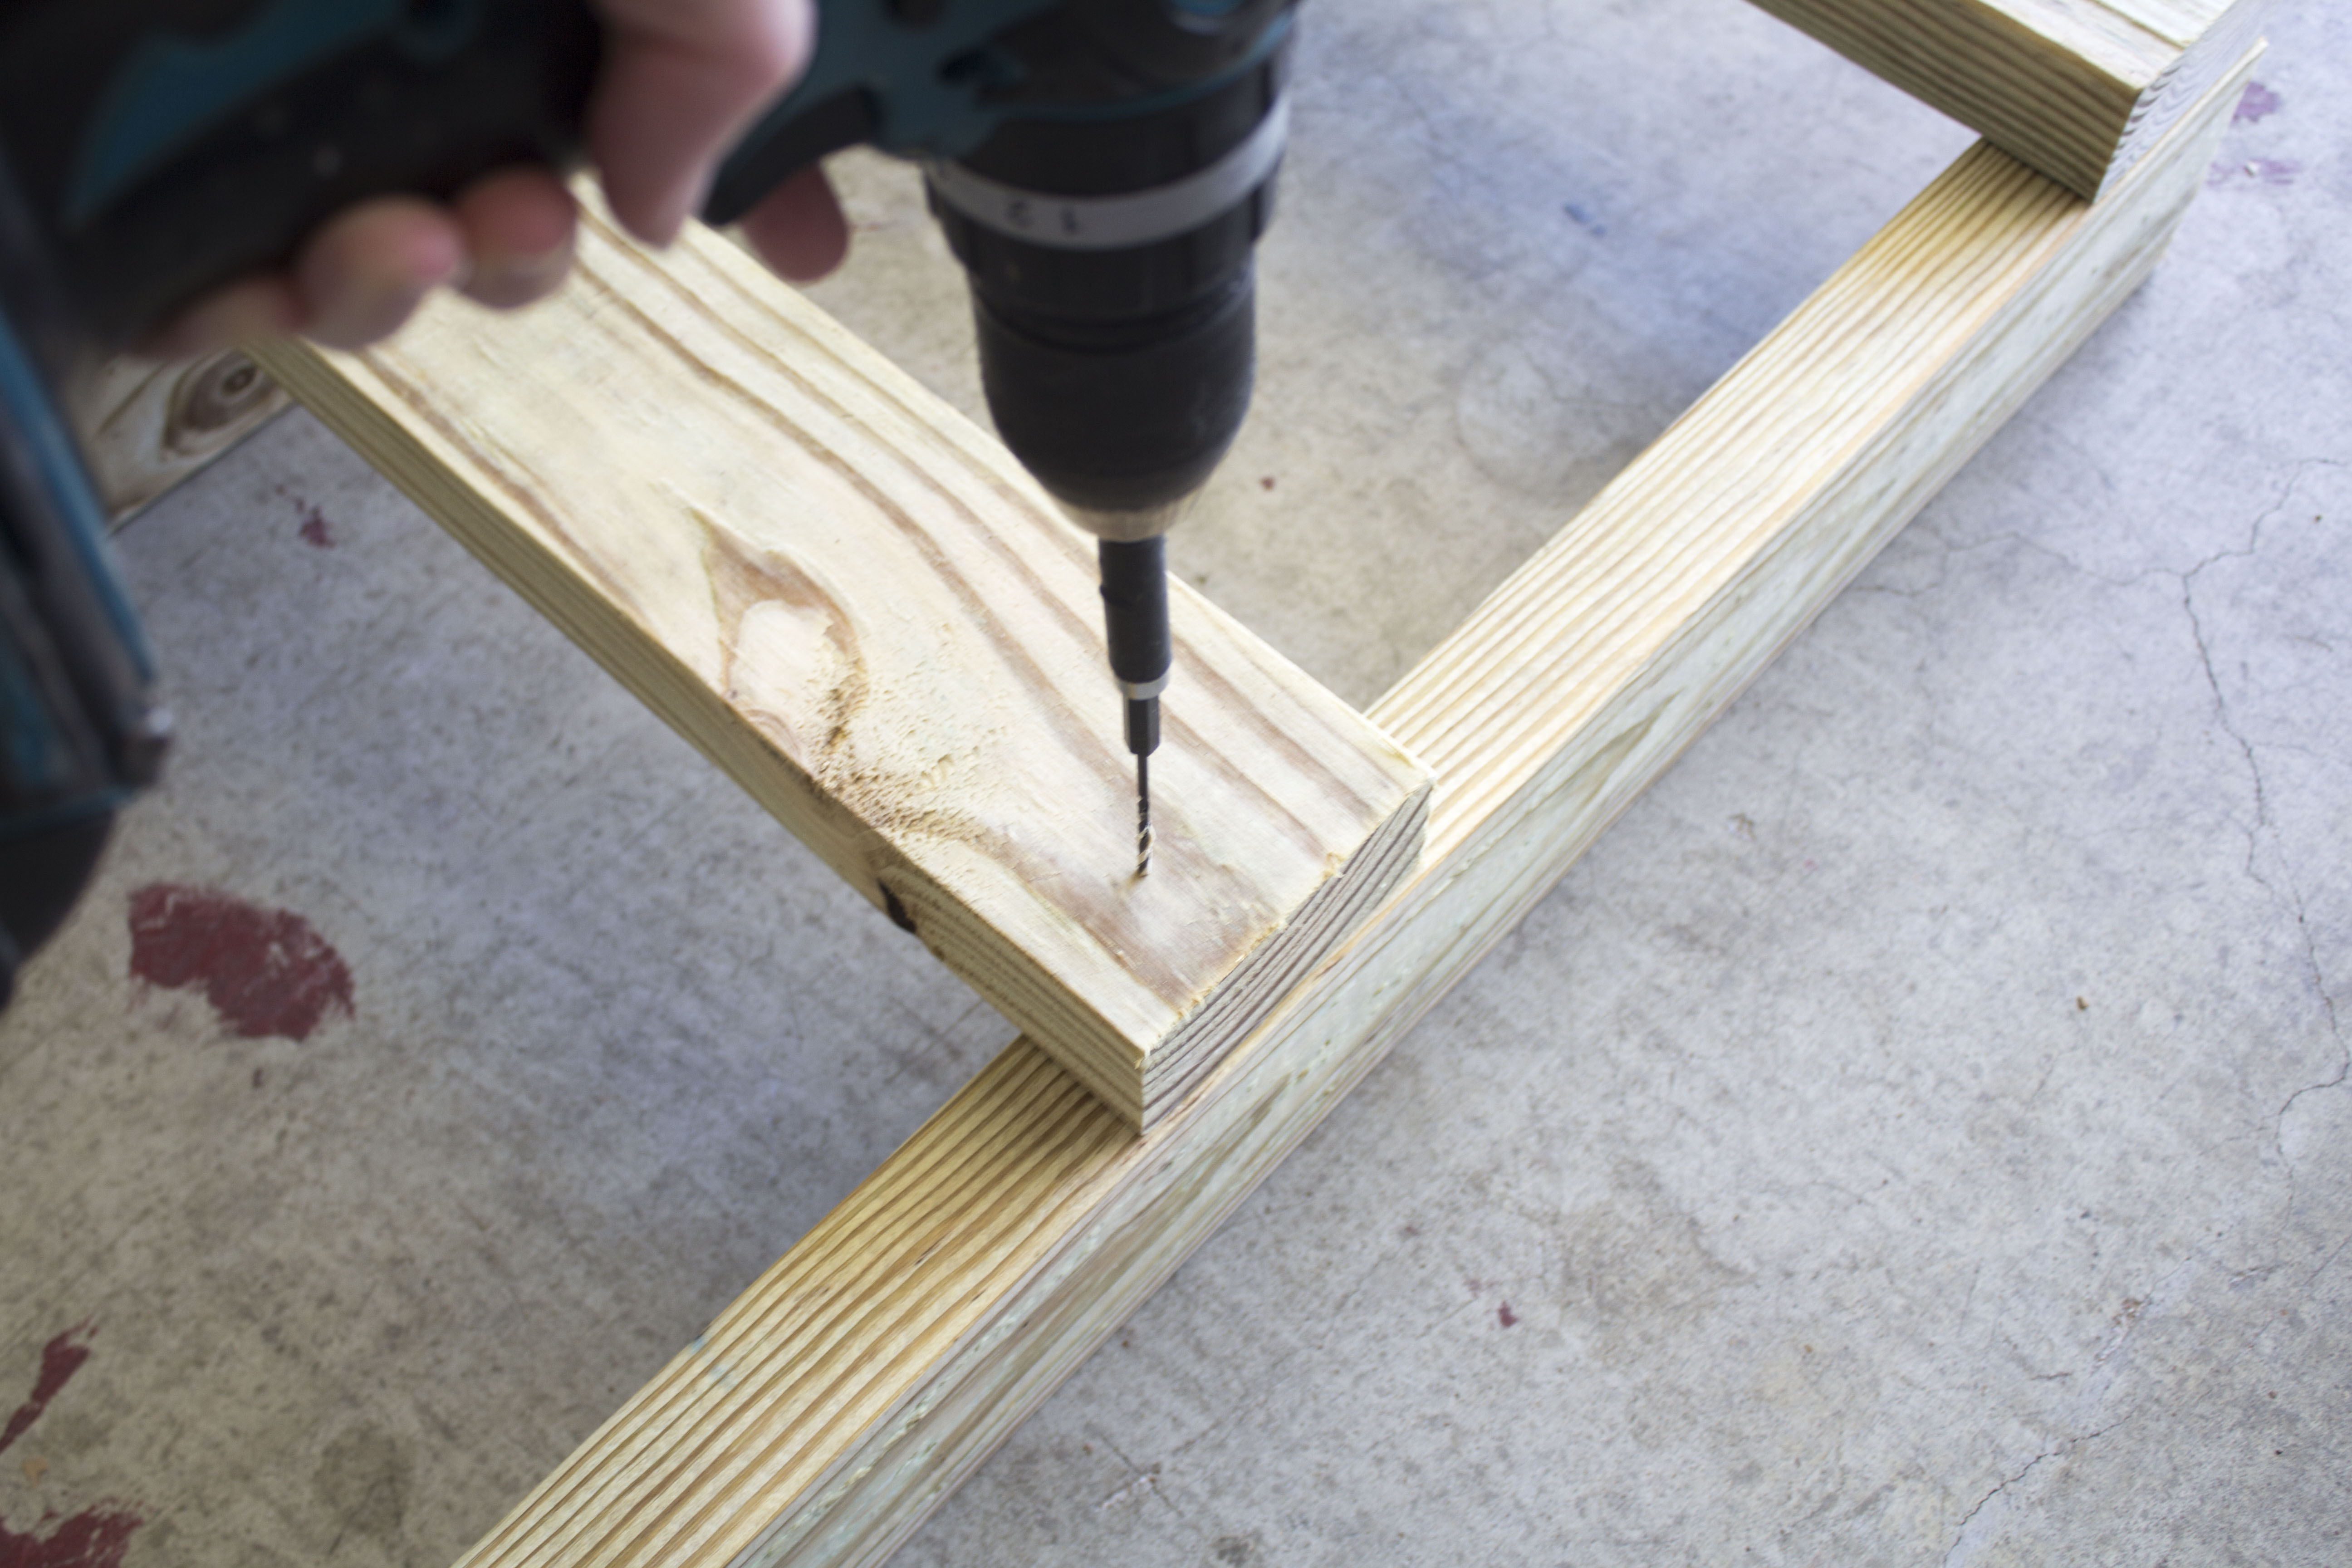
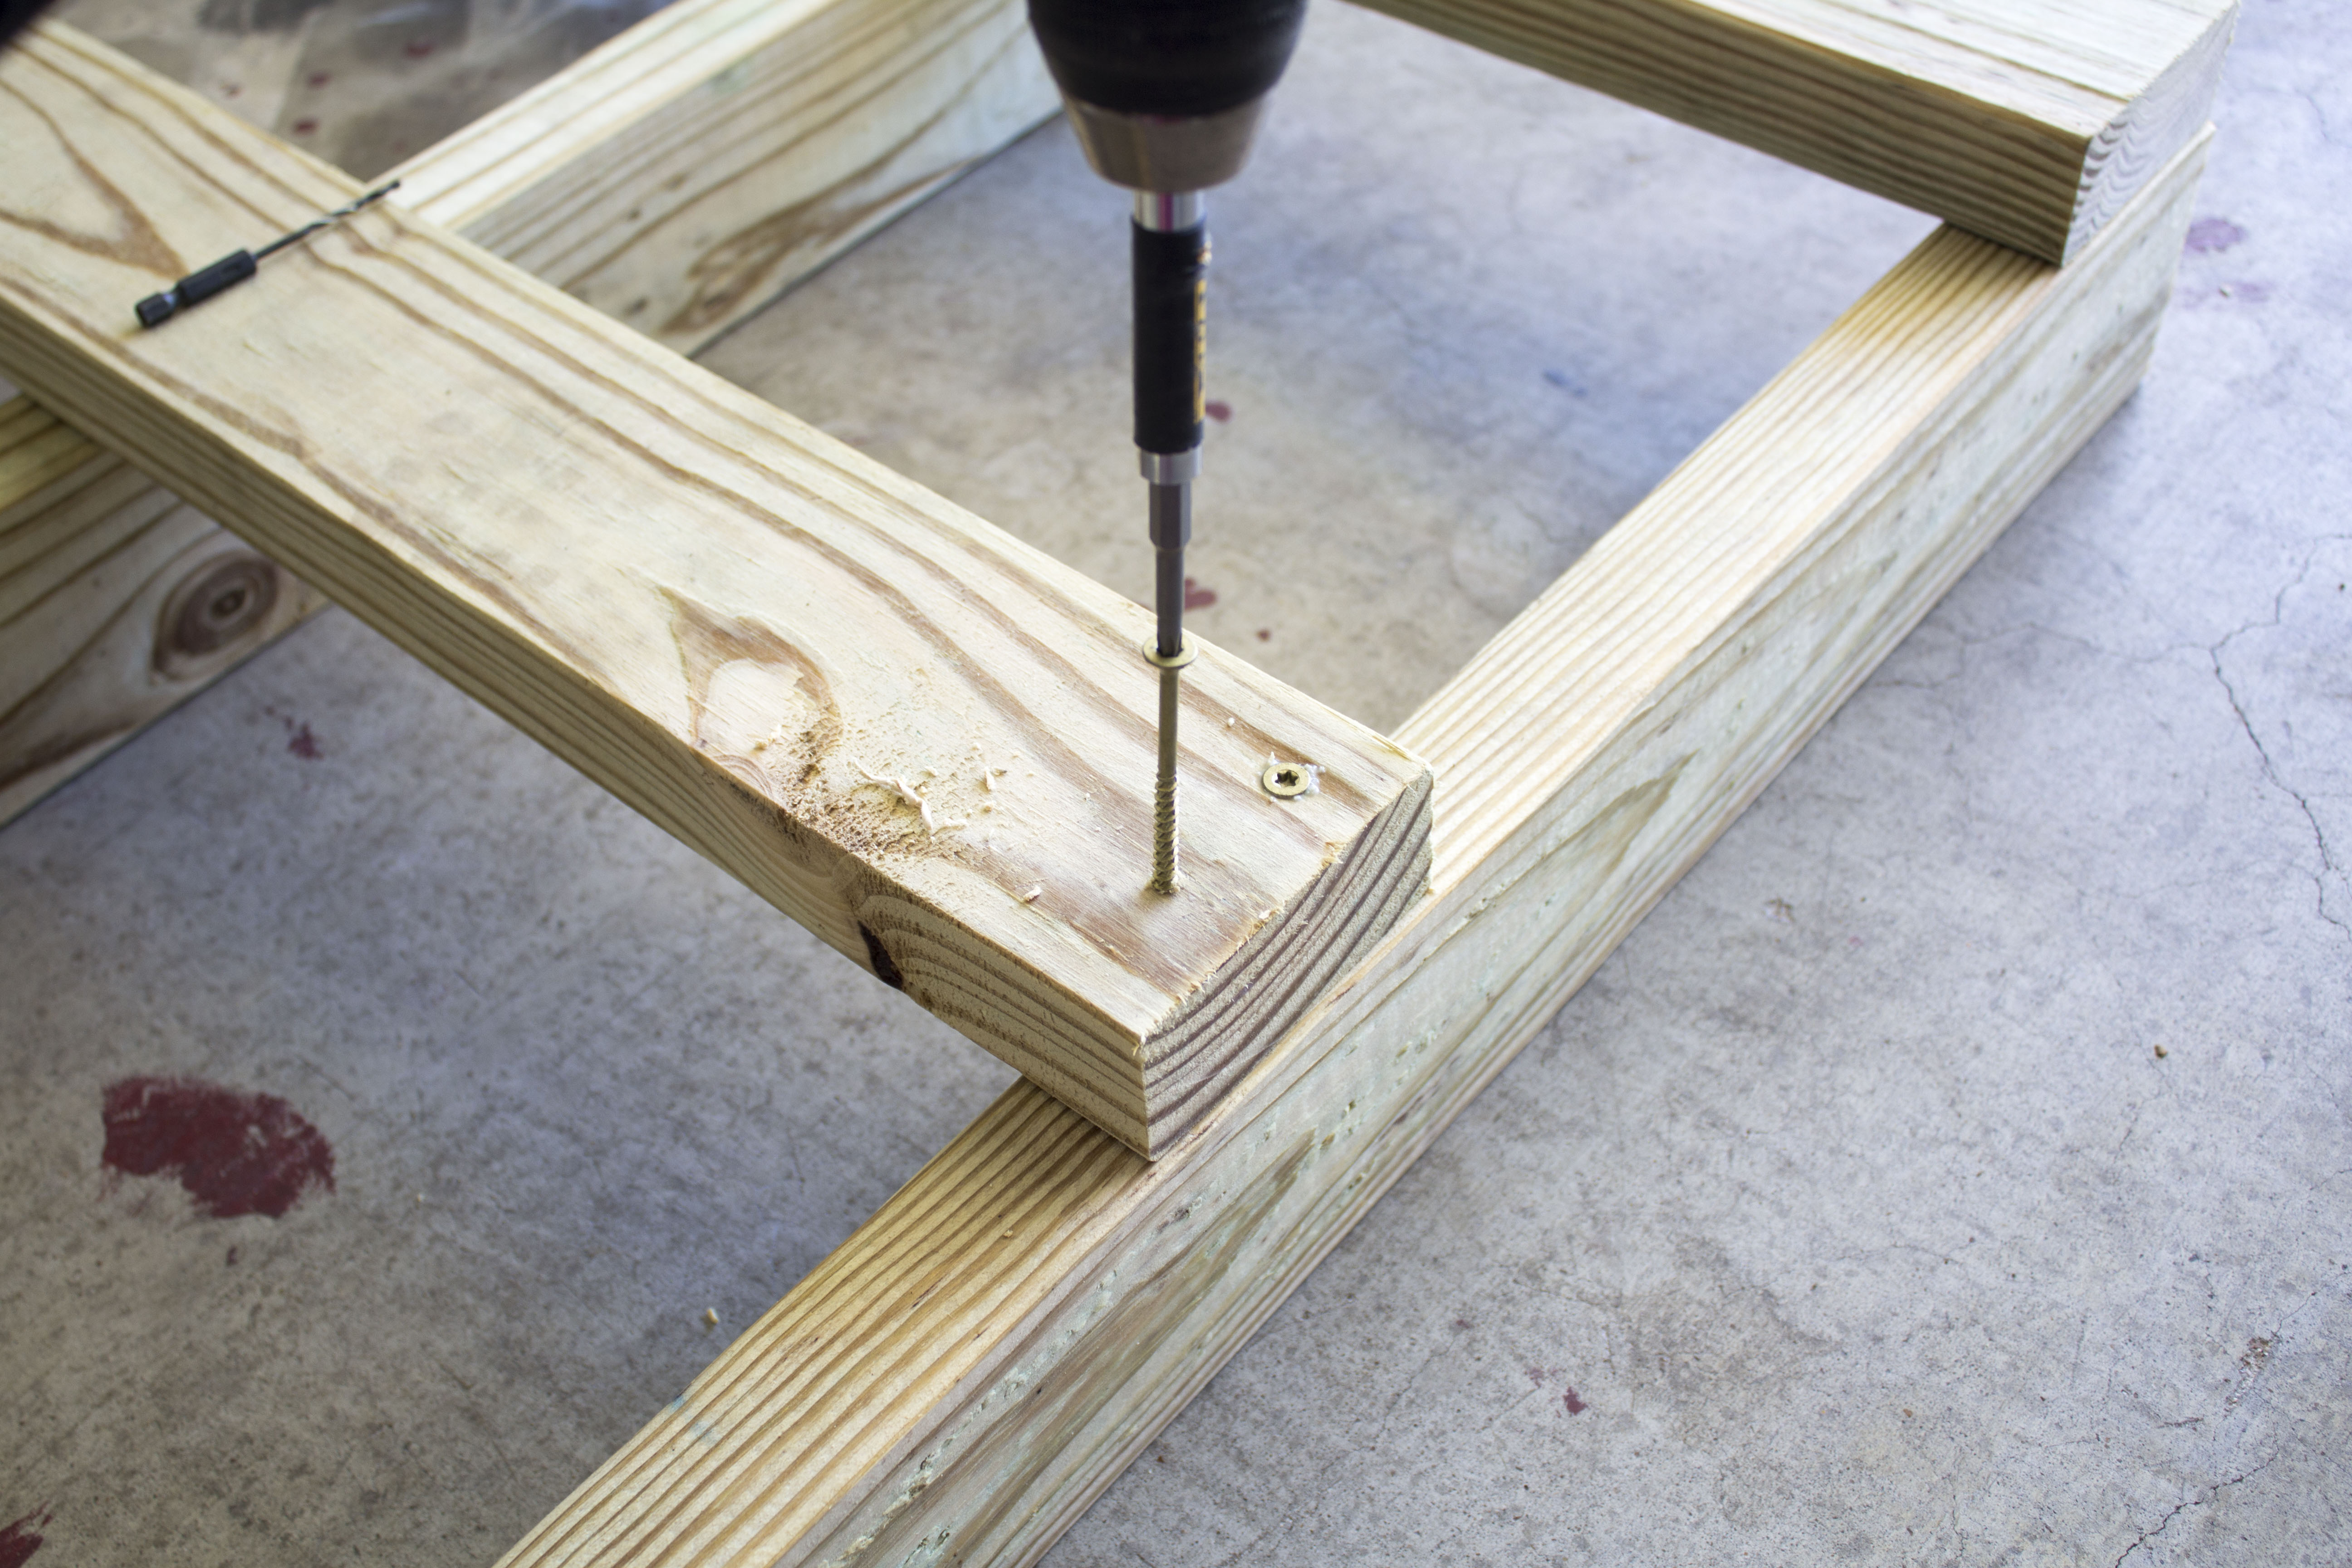
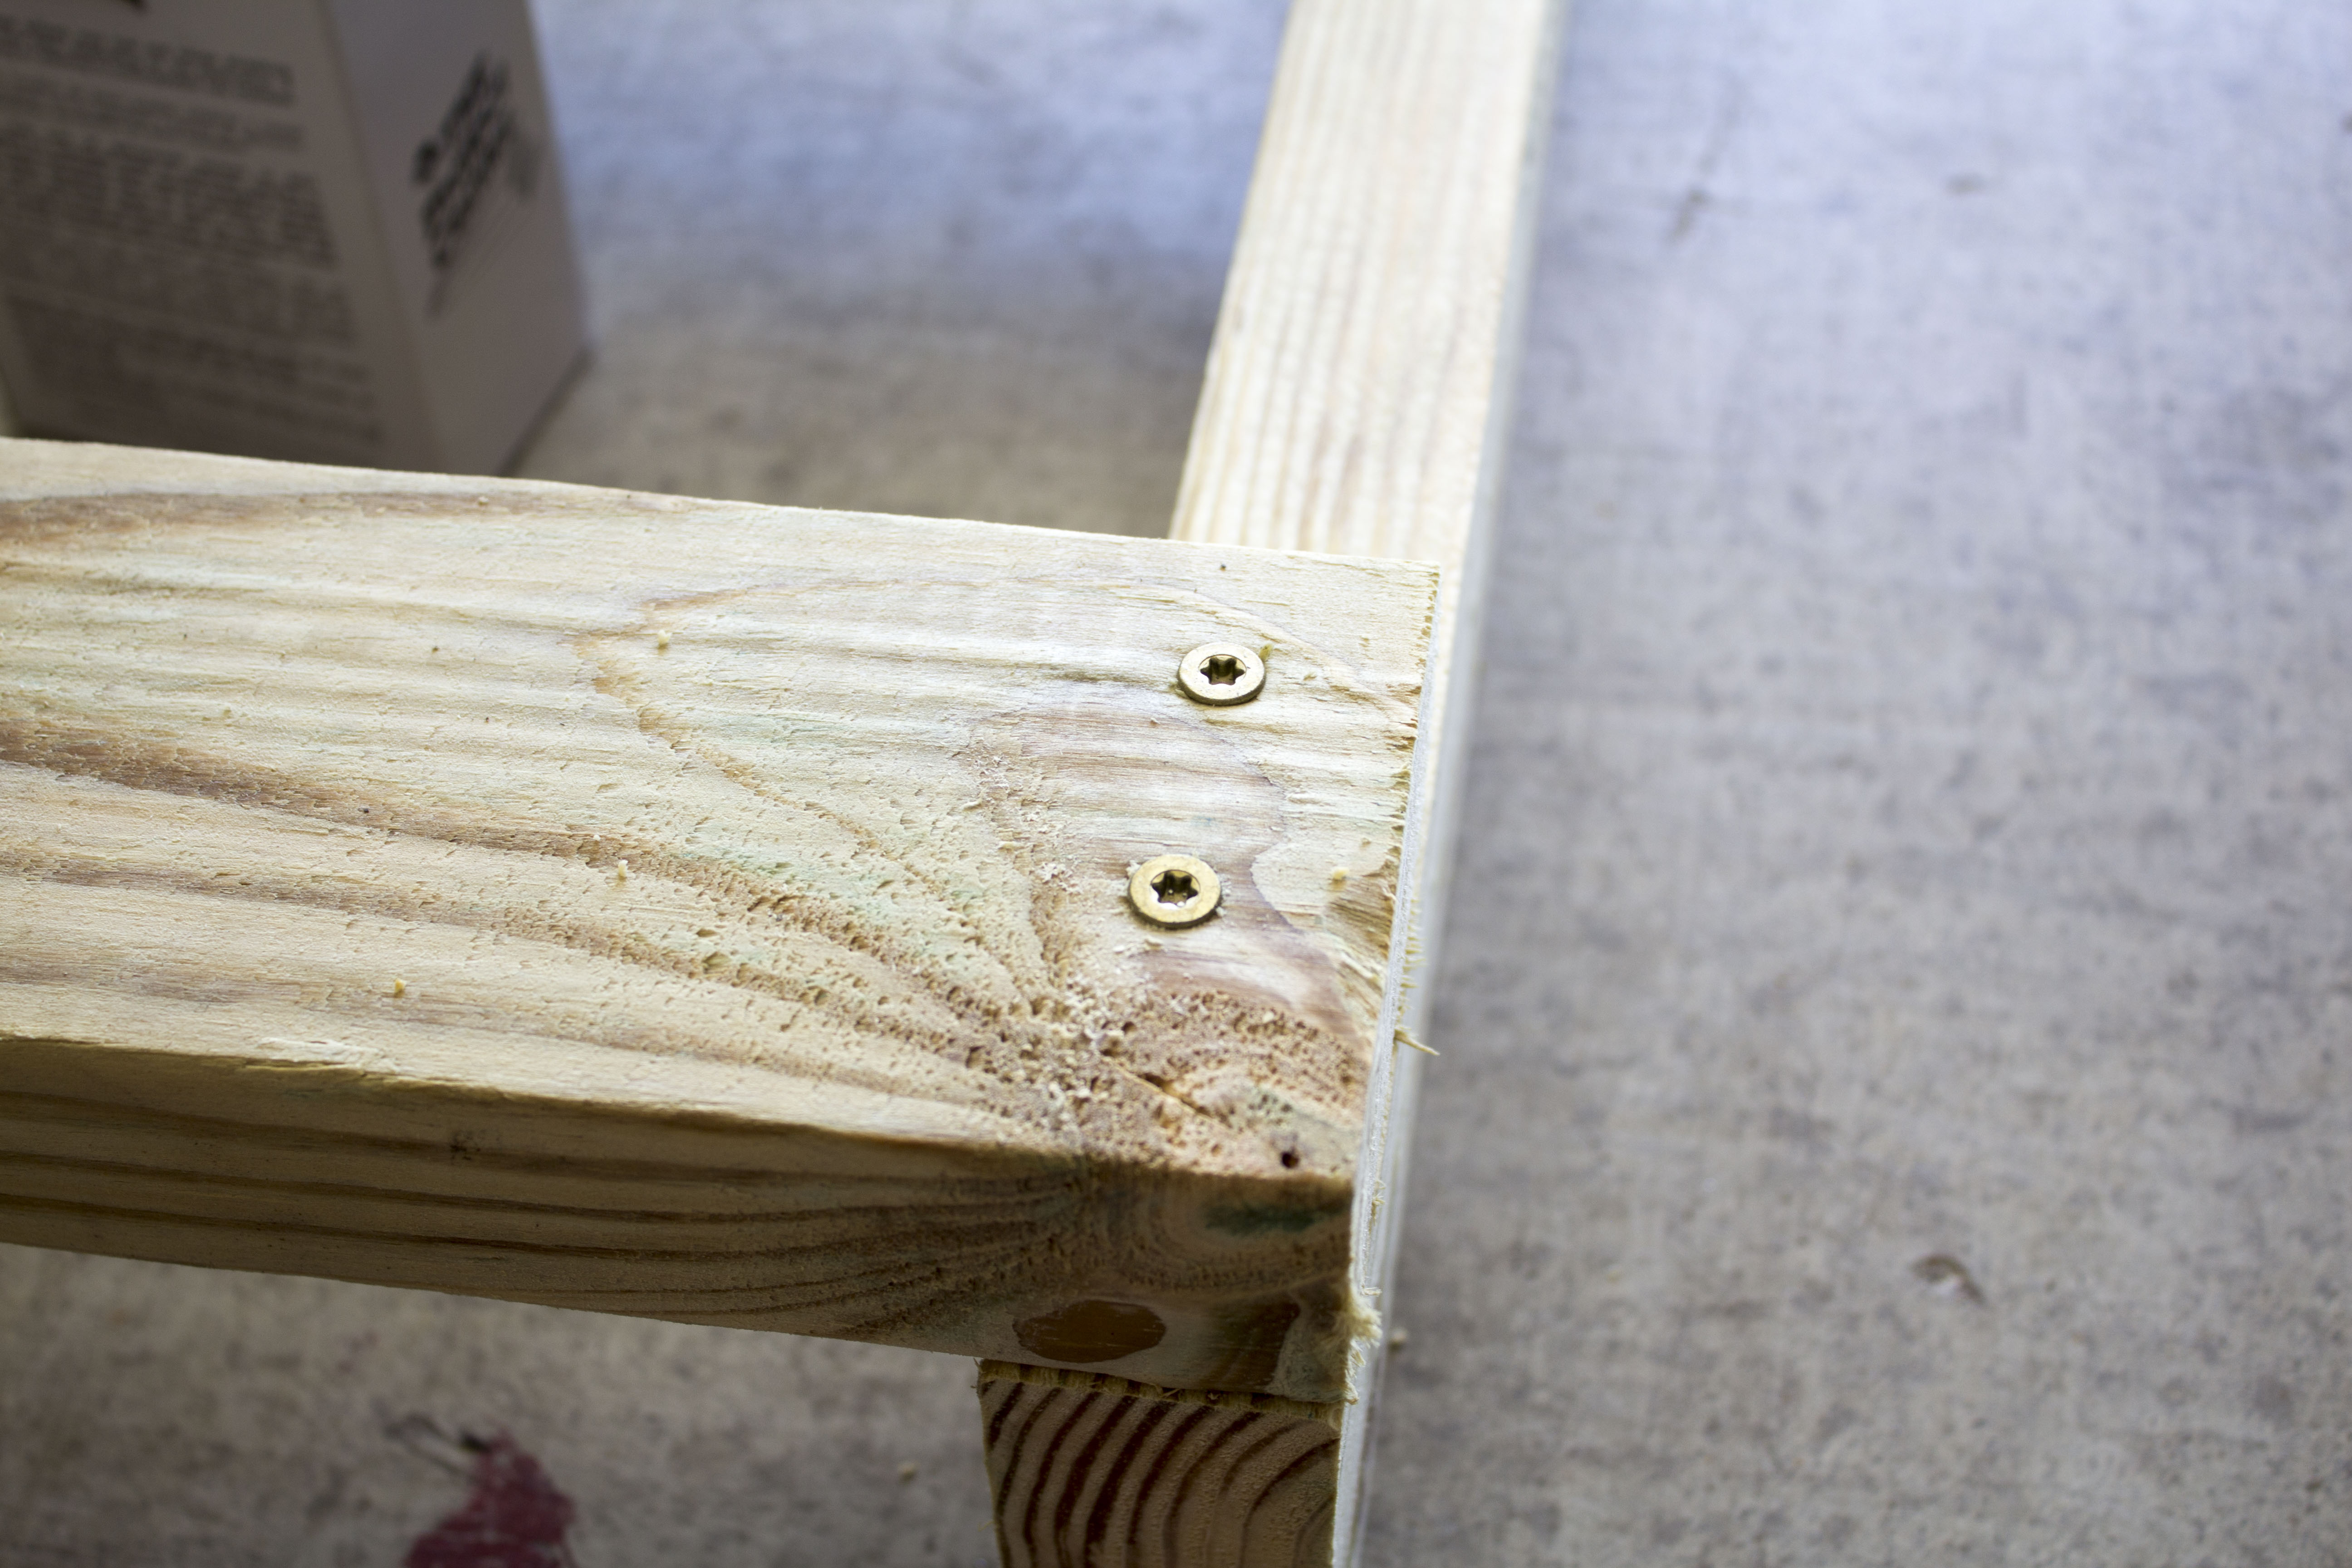
4. Drill pilot holes into both ends of these 3 boards and then screw 2 screws (per end/per board) into the outside ends. Drill pilot holes in the middle boards and then secure with screws.
5. After all boards are secured by screws, flip the pallet over.
6. Take 5 1×4 boards and lay them on top (width side down). Measure the 2 outside boards to make sure you are 32″ exactly. Secure these 2 boards like you did with the others by drilling pilot holes and then drilling in 2 screws in each end. Drill pilot holes in the middle boards and then secure with screws.
7. Line up your middle 1×4 board, exactly in the middle, and drill pilot holes and then secure with screws.
8. Evenly space your 2 remaining boards (of the 5…you’ll have one left over) and drill pilot holes, then secure with screws.
9. You’re FINISHED!


So many different projects using pallets!! Want to learn how to make your own Vertical Pallet Vegetable/Herb garden? Head to the World Market Blog to see my step-by-step tutorial!!

(Where I Party)
Great story and really impressed with your handyness! Thanks so much for sharing on craft schooling Sunday!
Funny story. Your pallet is the best looking one I have every seen and you know where it comes from.
I think this is awesome. I purchased a drill, but don’t know how to use it. I think I’ll sign-up for a class at the Home Depot this summer.
I’ve seen so many pallet gardens, but never stopped to think about all the chemicals put on the pallets themselves. It’s good to know you can make your own with untreated lumber. Hopefully others will take your advice and not get talked into using treated wood!
I love this idea! At least your efforts with the first pallet didn’t go to waste. Good to know we should always buy untreated wood when building a veggie garden. Thanks so much for sharing this on #shinebloghop.
I’ve torn so many pallets apart for things, and here you are making one! Lol! But I’m glad you went with untreated!
Thanks for sharing with us on Throwback Thursday!
Mollie