A strong motto for me over the last few years has been “Push Your Boundaries”. Ultimately in life, you must push your boundaries in order to grow. This action translates into so many different aspects of life. Because I’m motivated to push my own boundaries, I decided that this quote was the perfect saying to go on a mug. I wanted to be able to create my own mug so I decided to share my tutorial on how you can make your own Sharpie Mug.
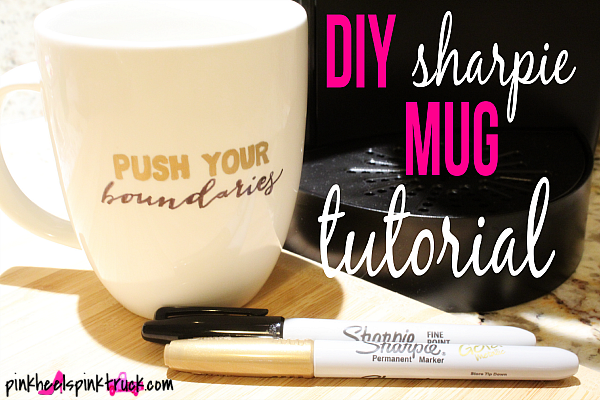
DIY Sharpie Mug Tutorial
SUPPLIES NEEDED:
Sharpies (in the colors of your choice…I’ve heard the oil base sharpies are the best…I used regular sharpies)
Pencil (regular and mechanical)
Tape
Design/Quote
White Mug
SHOP FOR THE SUPPLIES


DIRECTIONS:
Create your design or quote in your favorite editing software. I used Photoshop Elements. You could totally use PicMonkey to create something.
Print it out and cut out around your image/quote.
Take a regular pencil and shade the back of the image/quote. You want to shade pretty heavily because you want to be able to transfer your design/quote to your mug the first attempt.

Next, tape your design to your mug. Make sure you square it up to where you want it. If you are a right-handed mug holder, place your design away from you when you are holding the mug in your right hand. Do the opposite if you are a lefty. However, if you want the design facing you, just do the opposite of what I just said.

Trace your image/quote onto your mug. Go slow! Slow and steady wins this race! 😉
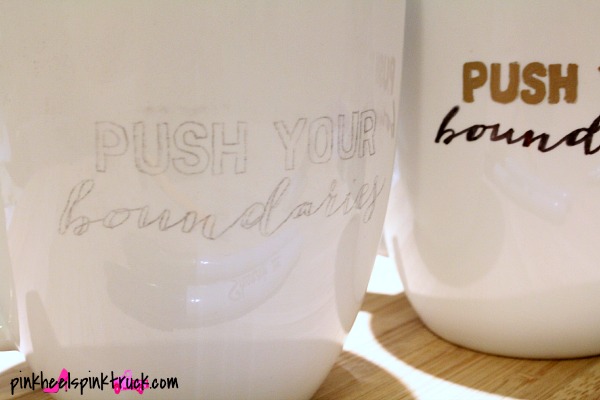
After you finish tracing, it’s time to fill in your image/quote. Again….slow and steady wins the race. My slow and steady isn’t perfect but I still love the end result!!

Let your mug set-up for 24 hours before you bake it in the oven.
Preheat your oven to 350°F. Bake your mug for 15 minutes.
Never put your DIY Sharpie Mug in the dishwasher!! Always hand wash and be careful when you are cleaning over the sharpie design/quote. Enjoy!!
PS…you could totally use a spray sealer to lock in your design even further. But that’s totally your call!
Want some other DIY Sharpie Mug Quote inspiration?? Check out the BEST Sharpie Mug Quotes here!
UPDATE: So, I’ve since made a few more mugs and after my hubs accidentally put this mug through the dishwasher, I went on the hunt for something more permanent. I’ve read that the Oil-Based Sharpies are a much better option, however if you handwash your mugs, you shouldn’t have any problems with regular sharpies. I just didn’t want to run the chance that my hubs was going to ruin another mug when I wasn’t around. So I found these porcelain paint pens. What I did differently was this: I drew my design on the mug. Let it cure for 8 hours before baking. Then baked in the oven at 350 degrees F for 45 minutes. Let completely cool and then you will not have any problems with accidental dishwasher washing. 🙂
Go shopping for your supplies here: MUGS & PENS
LIKE THIS POST? CHECK OUT THESE:
-

- CARAMEL APPLE MOONSHINE
-

- 52 DIY & Handmade Gifts for Men
-

- DIY Body Scrub
-

- FREE PLANNER PRINTABLES

(Where I Party)
This is awesome! I will be making one for sure!
~Ashley @ A Cute Angle
acutelifestyle.blogspot.com
Your mug turned out so good!!
This seems like a lot of fun and so easy! I think for Christmas this year my co-workers and my husbands’ family will be getting these, personalized with their names! Such an inexpensive (hello Dollar Tree!) and fun idea! Thanks!
Walmart has nice white cups for 0.88!
Love this!!! So pretty! I need to get some white mugs asap!
Have you tried using a clear sealer? If so, which one?
Thanks
Stacy
Best tutorial ever. I have been wanting to do this to some of my mugs and now I know I can! Love this! Thanks for sharing.
Thank you so much for attending week 8 of #PureBlogLove and linking your fantastic blog post, I can’t wait to see what you have in store for our party next week Thursday 8 PM EST- Sundays at midnight. Your post has been added to the #PureBlogLove Pinterest board for all to see 🙂 Have a great day!
Nicole
Hello sweet lady! This looks incredible. Pinned. We appreciate you taking the time to party with us. We hope to see you on Monday at 7 pm. We love partying with you! http://loulougirls.blogspot.com/
Happy Saturday! Lou Lou Girls
Hi! I was wondering if you just sat these in a cookie sheet in the oven?
Hi! I love the idea of decorating mugs with sharpies!! After a long time, I’ve finally decided today to make one. Love the result so far, but some remainings of the transfer paper were left on surface of the mug. I’ve tried to eraser with cotton, with a pencil eraser… but looks like the ink comes off as well. Is there any trick to remove this easily? Should I wait 24h for the ink to dry and then try removing the remainings again? Help, please!
great idea! love this. thanks – such a simple idea – but so effective. good tutorial.
What font did you use for the word “boundaries?” Thanks so much!!! Great idea. 🙂 Thanks for the update on the Porcelain pens too. Love!
Love this! Question though.. how do you trace the lettering on to the mug? – little confused. TIA
Hi Melissa,
Print off the phrase you’d like to copy onto your mug. Make sure the font you use has some weight to it. Take a pencil and scribble over the letters on the back of piece of paper. This will act as your transfer agent. Tape your piece of paper onto your mug, in the spot you want the letters to appear. Take your same pencil and trace the outline of each letter on to the mug. Then once you are finished, slowly remove the taped piece of paper off the mug. You’ll see your transferred letters now on the mug. Finish with a sharpie.
Hope that helps!
Thanks for sharing this! I was wondering how to transfer on the cup! You solved my problem!