Owning a vintage rental business over the last few years has allowed me to learn things I never thought I’d need to learn. Like today’s post for example: how to remove damaged wood veneer from a table that you leave outside overnight, not realizing your sprinkler system was still running in the wee hours of the morning. Yep. That was what happened to this table. I had setup for a photoshoot in my backyard and left some of the larger pieces underneath a tree (because I couldn’t move them by myself and needed to wait for my hubs to help). The damage, honestly, wasn’t bad. But because I didn’t know how to just fix the areas that needed some fixing, I just decided to pull the veneer completely off and start over.
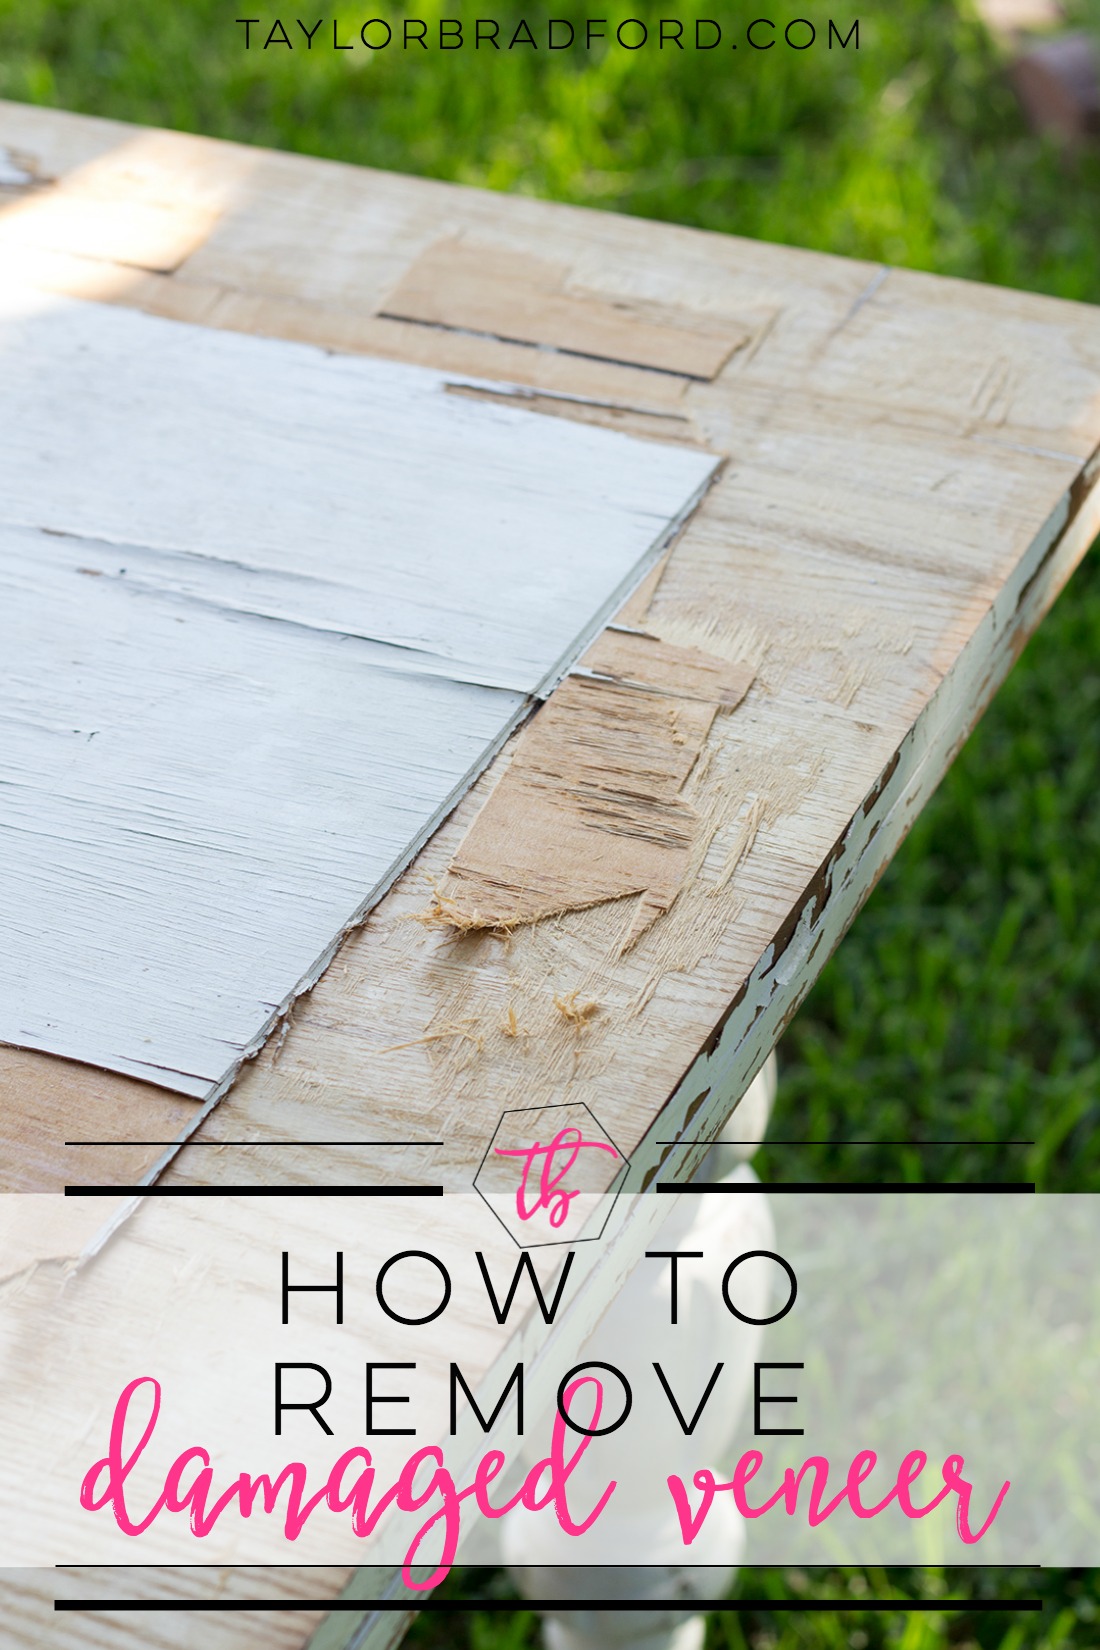
HOW TO REMOVE DAMAGED WOOD VENEER
This is my process on how I removed the damaged wood veneer (and the remaining veneer that wasn’t damaged). Outside of being tedious (get comfy), the removal process is not hard at all!
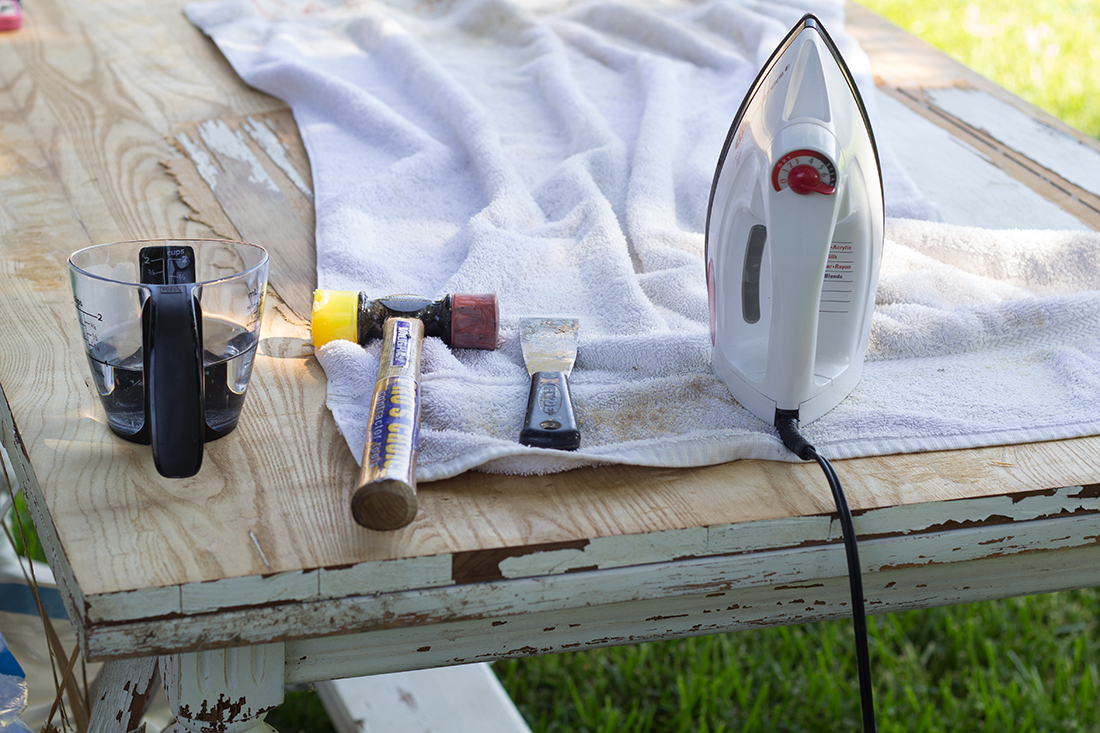
Supplies:
Putty knife
Cheap iron with steamer function
Old towel
Water (for iron and towel)
Mallet or Hammer
Technique:
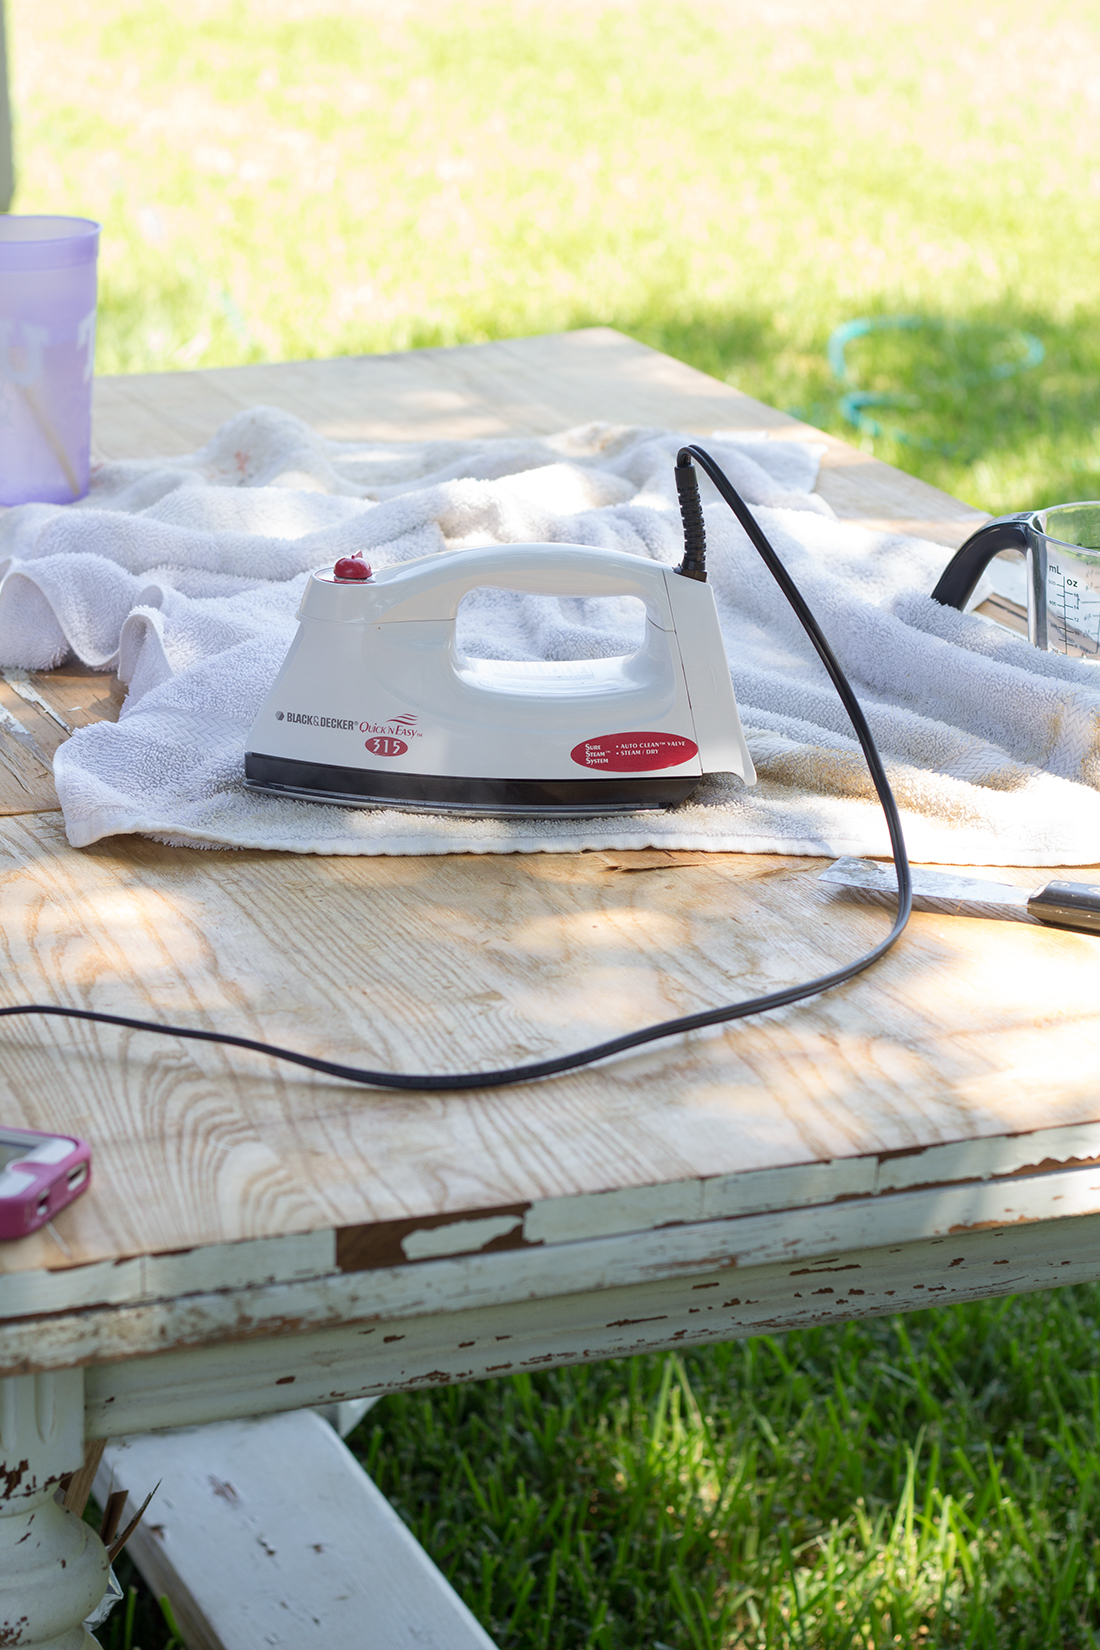
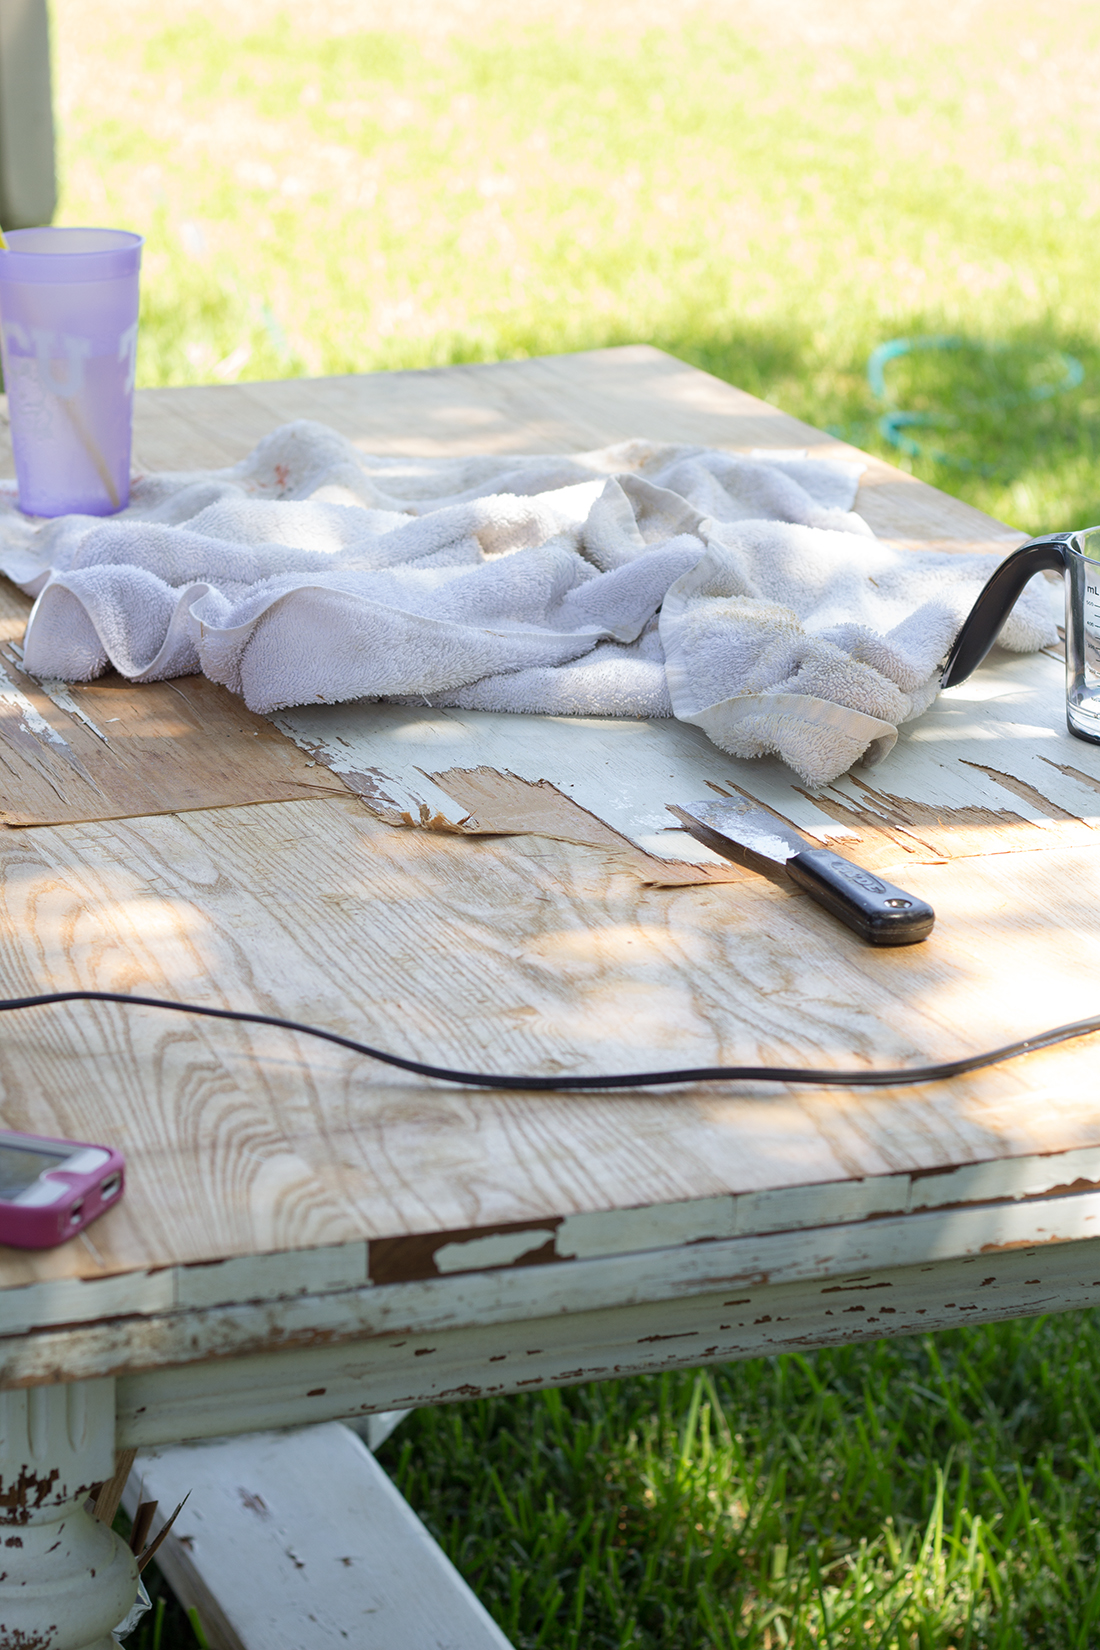
The best way I can tell you to do this is to use a really cheap iron (my iron was older and I worked it too hard during this project and it died before I was finished) with a steam function. Let your iron heat up and take a towel and lay it on top the section you are wanting to remove (work in small sections). Add just a tad bit of water to the spot on the towel that you are going to put the iron on. Iron that area for a few minutes and then remove the towel and take your putty knife to begin working the veneer loose (veneer is held together with glue – that is why we are using an iron to heat it up + the moisture helps left the veneer loose as well). That’s it. You just repeat this process over and over and over until your veneer is completely removed. It’s definitely tedious but it’s not a hard process.
WATCH MY QUICK VIDEO TUTORIAL ON HOW TO REMOVE DAMAGED VENEER
Have you ever tackled a project like this?

(Where I Party)
I found your tutorial at the Home Stories Link Party. It doesn’t look as terrible as I imagined the process would be in my head. It reminds me of removing wallpaper. I may be able to salvage a side table after all–thanks for sharing!
What a great idea. I have painted a table and I do not like it. I might try this to see if it works 🙂 Thanks for linking up to Creative Mondays. Hope you can join me for The Wednesday blog hop later this week.
I have gotten rid of a few pieces of furniture in the past because the veneer was ruined and I didn’t know how to fix it. Thanks for sharing. I’m bringing back my Monday link party @ DIY Home Sweet Home (first one will be Oct. 16th) and I would love for you to stop by and link up your tutorial!